
Quickstart
Go from sign-up to your first detected leak in five minutes.
This quickstart gets you from zero to your first detected credential leak in about five minutes. The full walkthrough, including team management and custom monitors, is covered in the onboarding guide.
Before you start
You need:
- A professional email address (free email providers like Gmail or Outlook are not accepted on paid plans)
- Access to the DNS records of one of your domains (to verify ownership)
- A modern browser (Chrome, Firefox, Safari, Edge, all current versions)
Step 1. Create your account
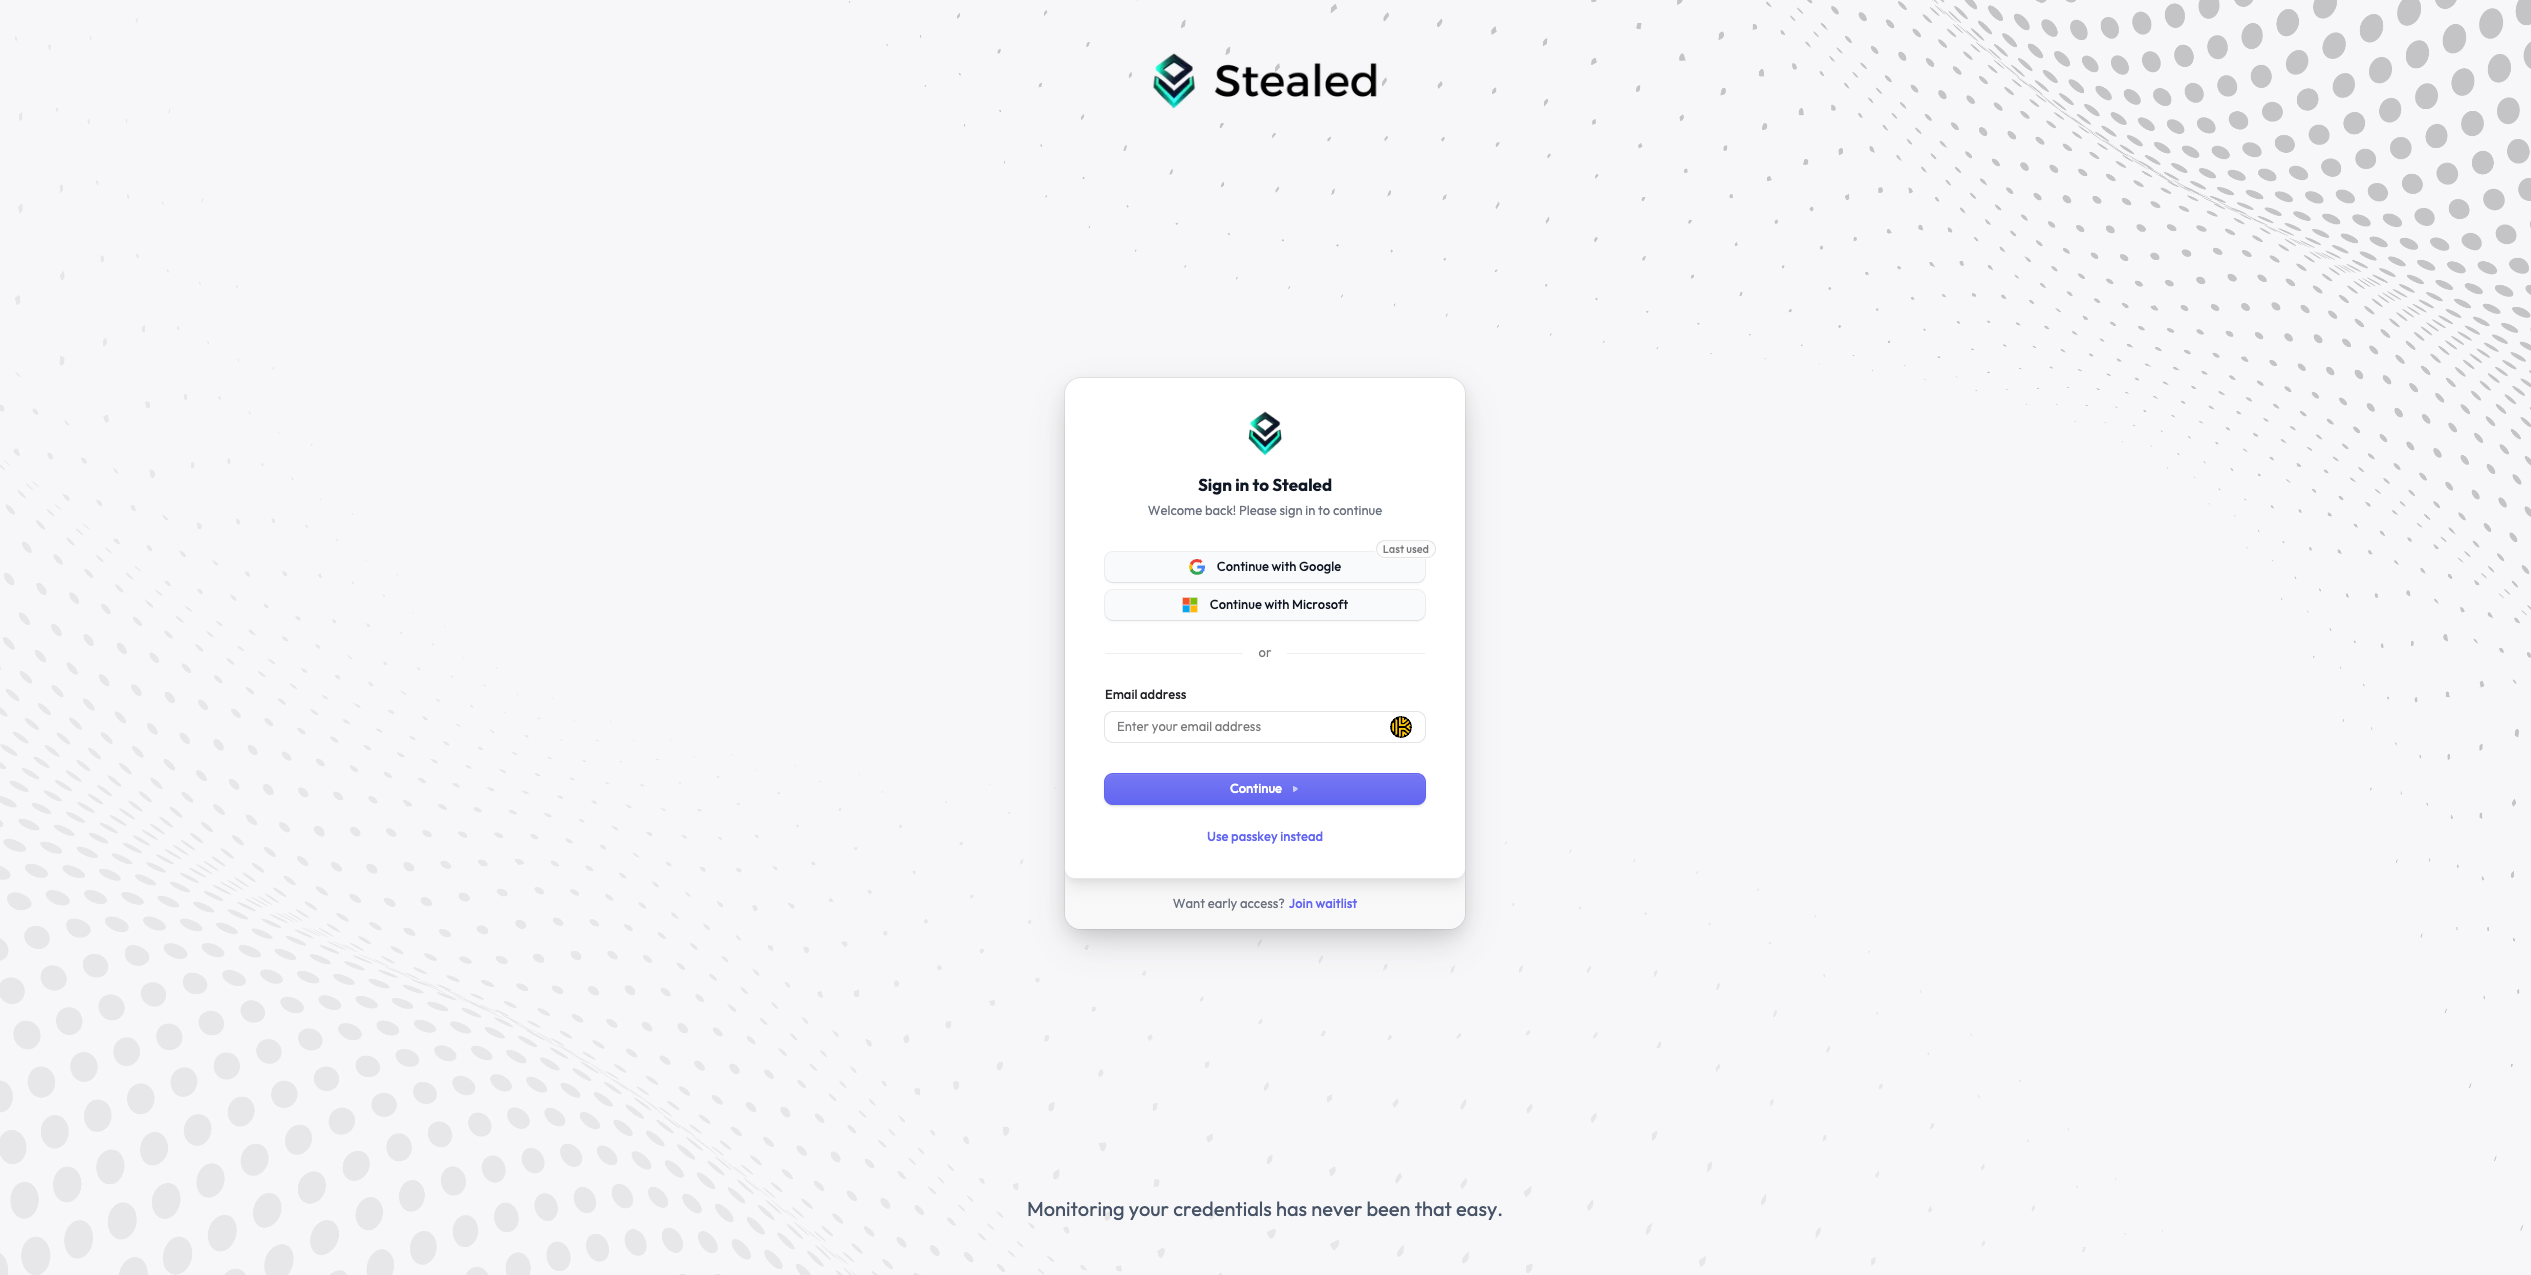
Go to app.stealed.io/sign-up and create your account using email + password or one of the SSO providers (Google, Microsoft).
Step 2. Create your organization
After authentication, you are prompted to create an organization. Choose:
- A display name: appears in the UI and emails (e.g. "Acme Corp")
- A slug: used in URLs and API paths, lowercase with hyphens
(e.g.
acme-corp) - A plan: start on Free to try the platform; Pro and Enterprise unlock multi-channel alerting and higher retention
Step 3. Add your first domain
From the left sidebar, open Settings → Domains and click Add domain.
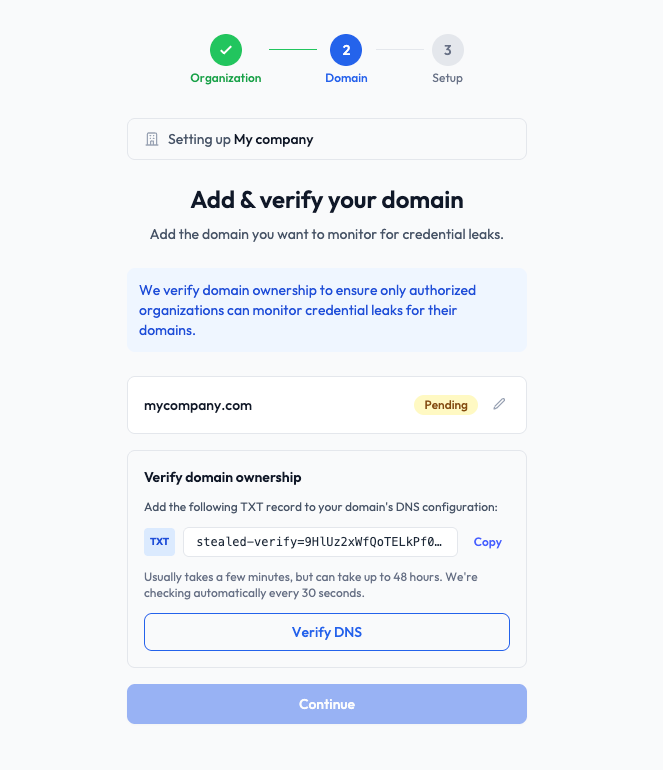
Enter your root domain (e.g. acme.com). Stealed will automatically watch
all subdomains under it (portal.acme.com, api.acme.com, etc.).
Step 4. Verify domain ownership
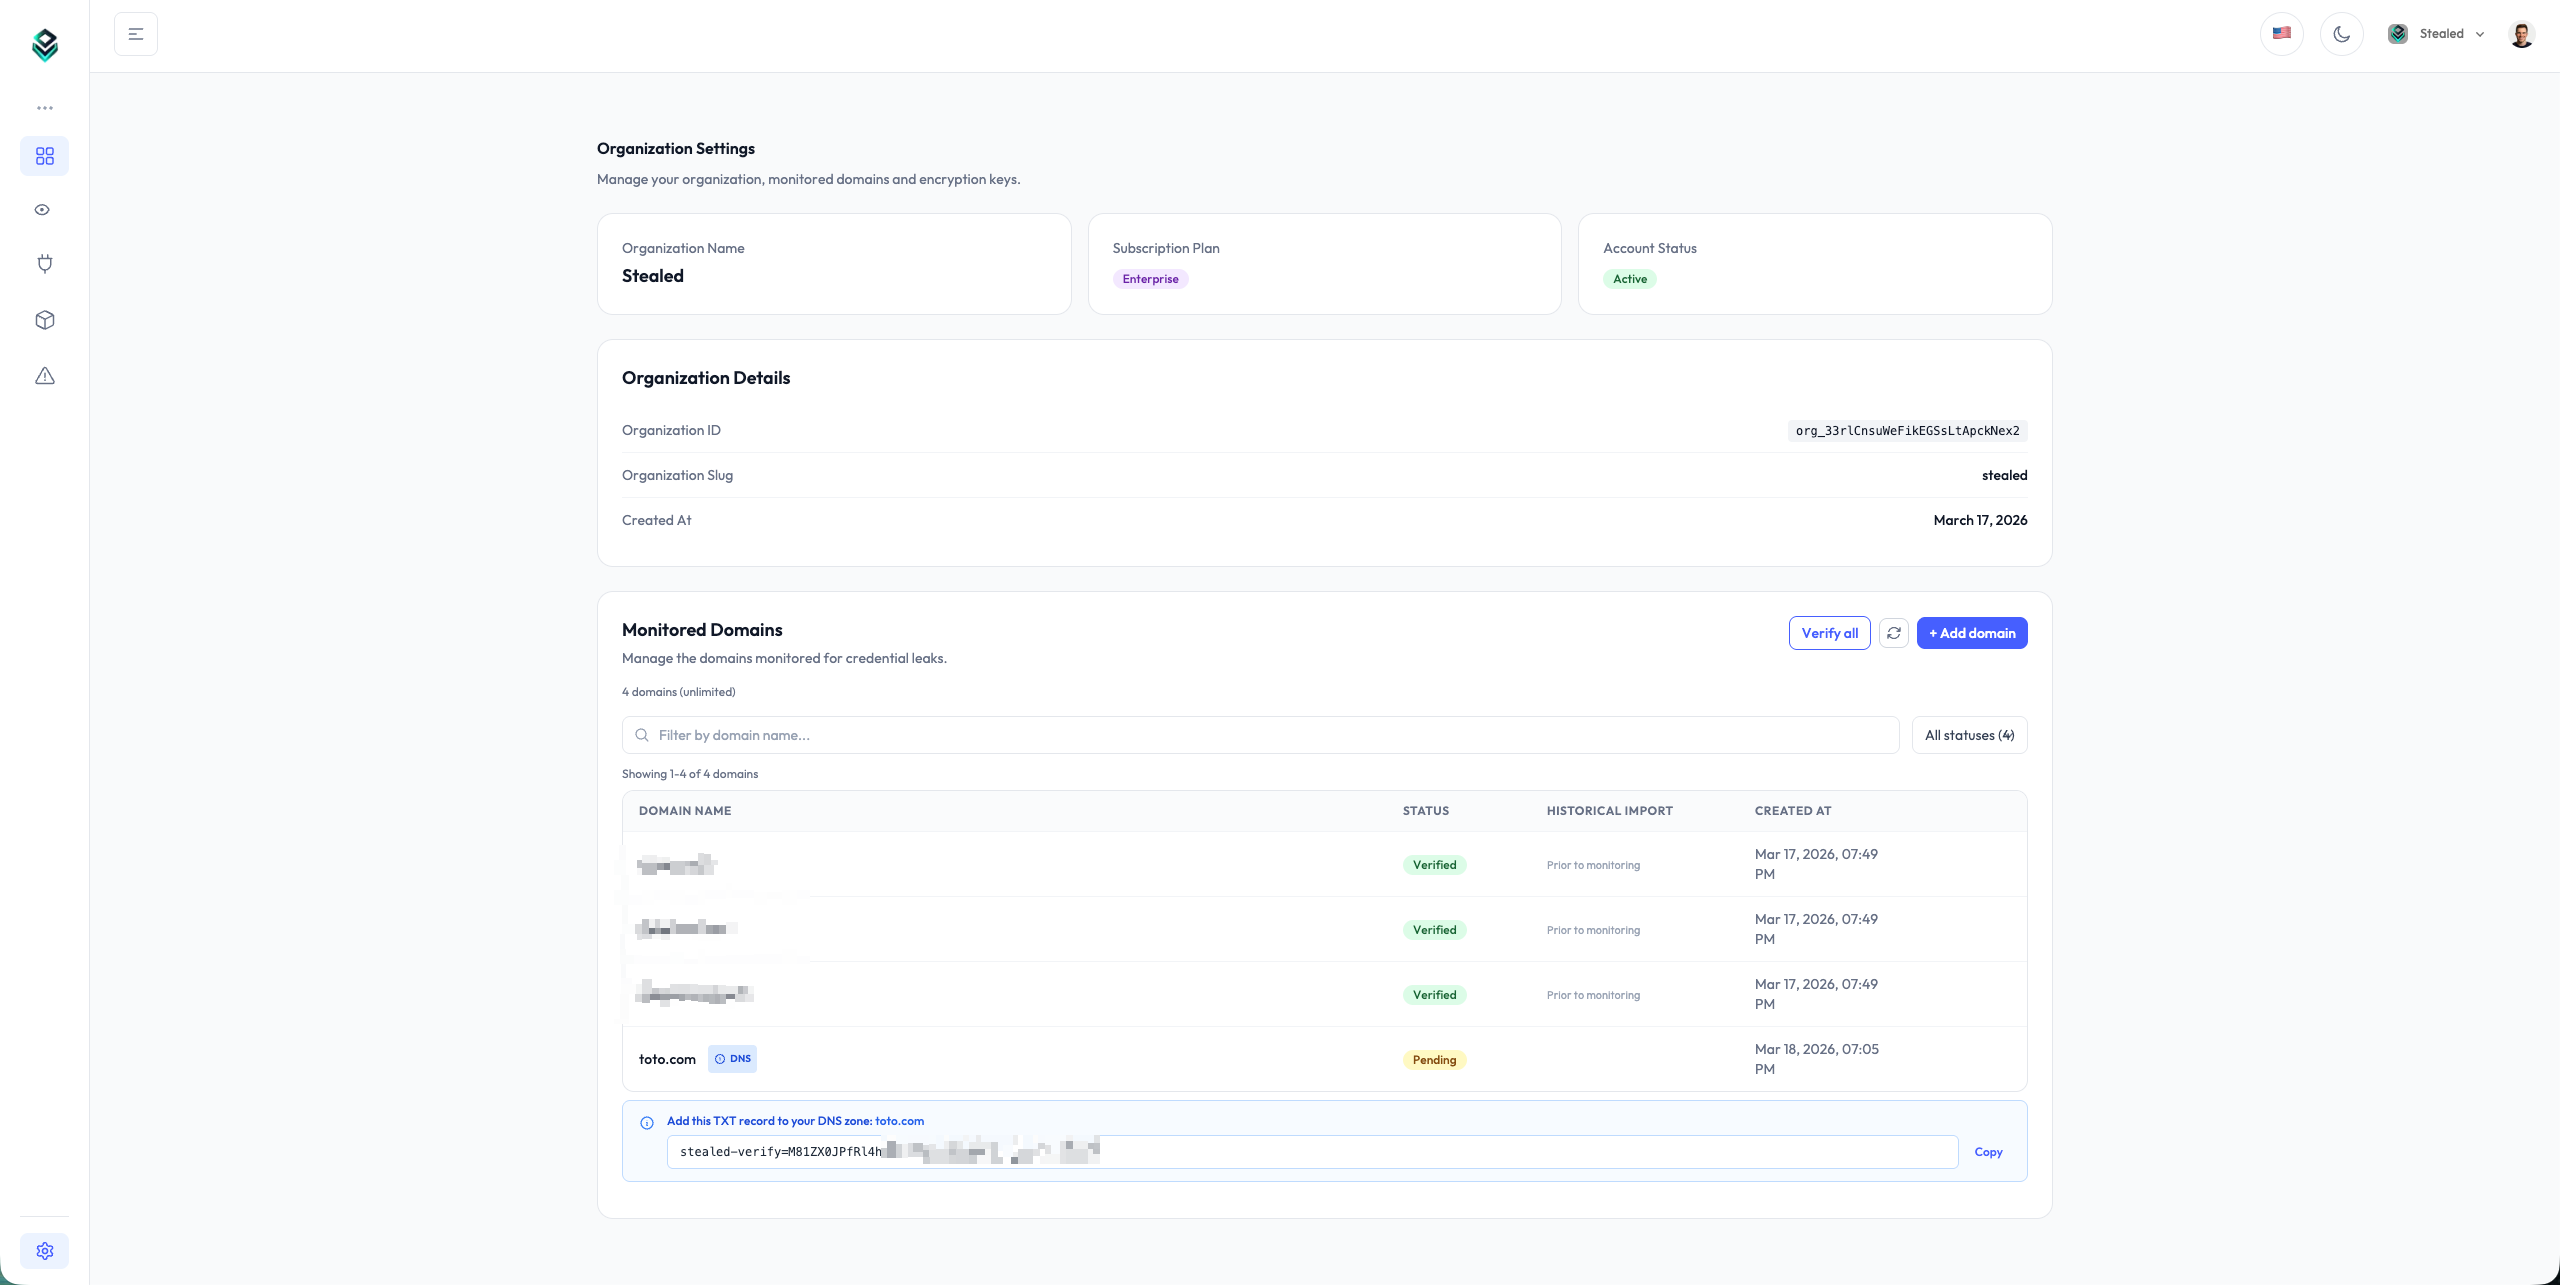
Stealed displays the value of a TXT record you must add at the root of your domain's DNS zone:
acme.com TXT "stealed-verify=abc123def456..."Create the record on your DNS provider (Cloudflare, OVH, Route 53, Google
Domains all expose a TXT record creation flow), on the domain itself and not
on a subdomain. Depending on the provider, the name or host field is @,
left empty, or set to the domain name. Add it next to the TXT records already
there (SPF, for instance), without replacing them.
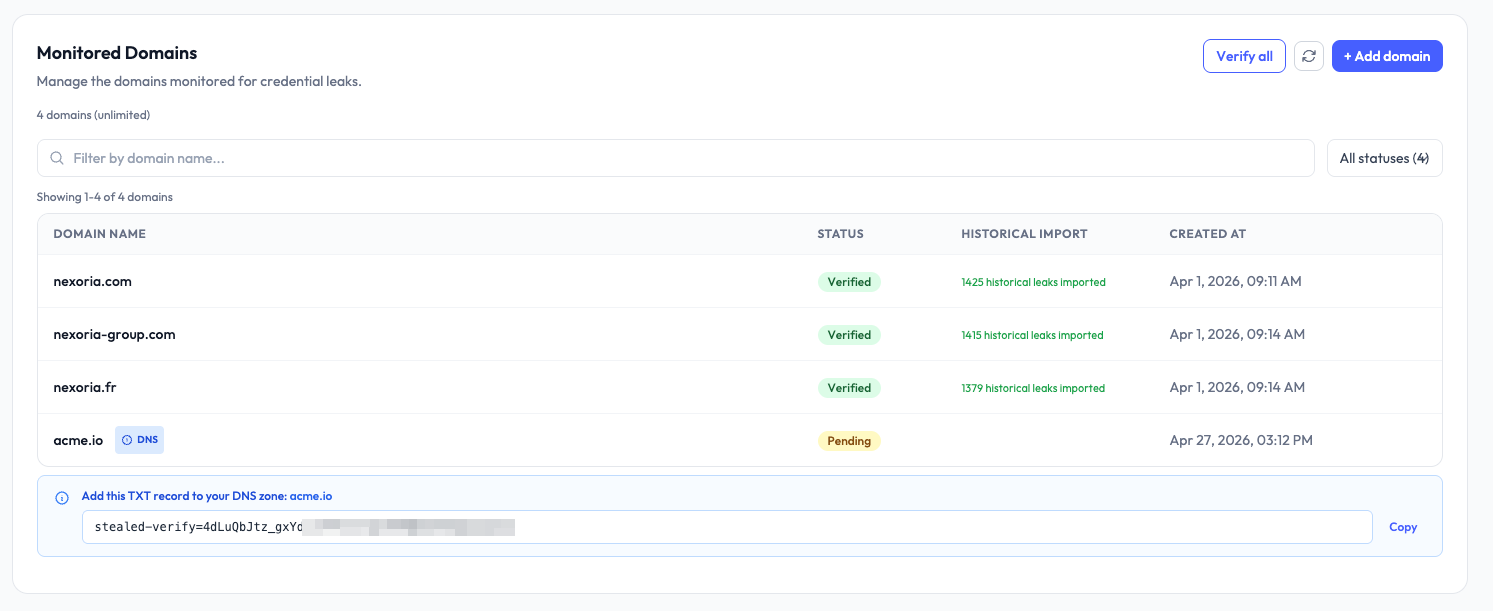
Then go back to Stealed and click Verify next to the domain. DNS propagation can take up to one hour depending on your DNS provider's TTL: if verification fails, run it again a little later.
Step 5. Explore your first results
Once your domain is verified, Stealed starts checking incoming leaks against it in real time. Within a few hours you typically have your first matches if your domain has any history of credential leaks (most public-facing domains do).
Open Internal Insight from the sidebar to see compromised credentials linked to your domain. Each row shows the email, the masked password, the site the credential belonged to, and the detection date.
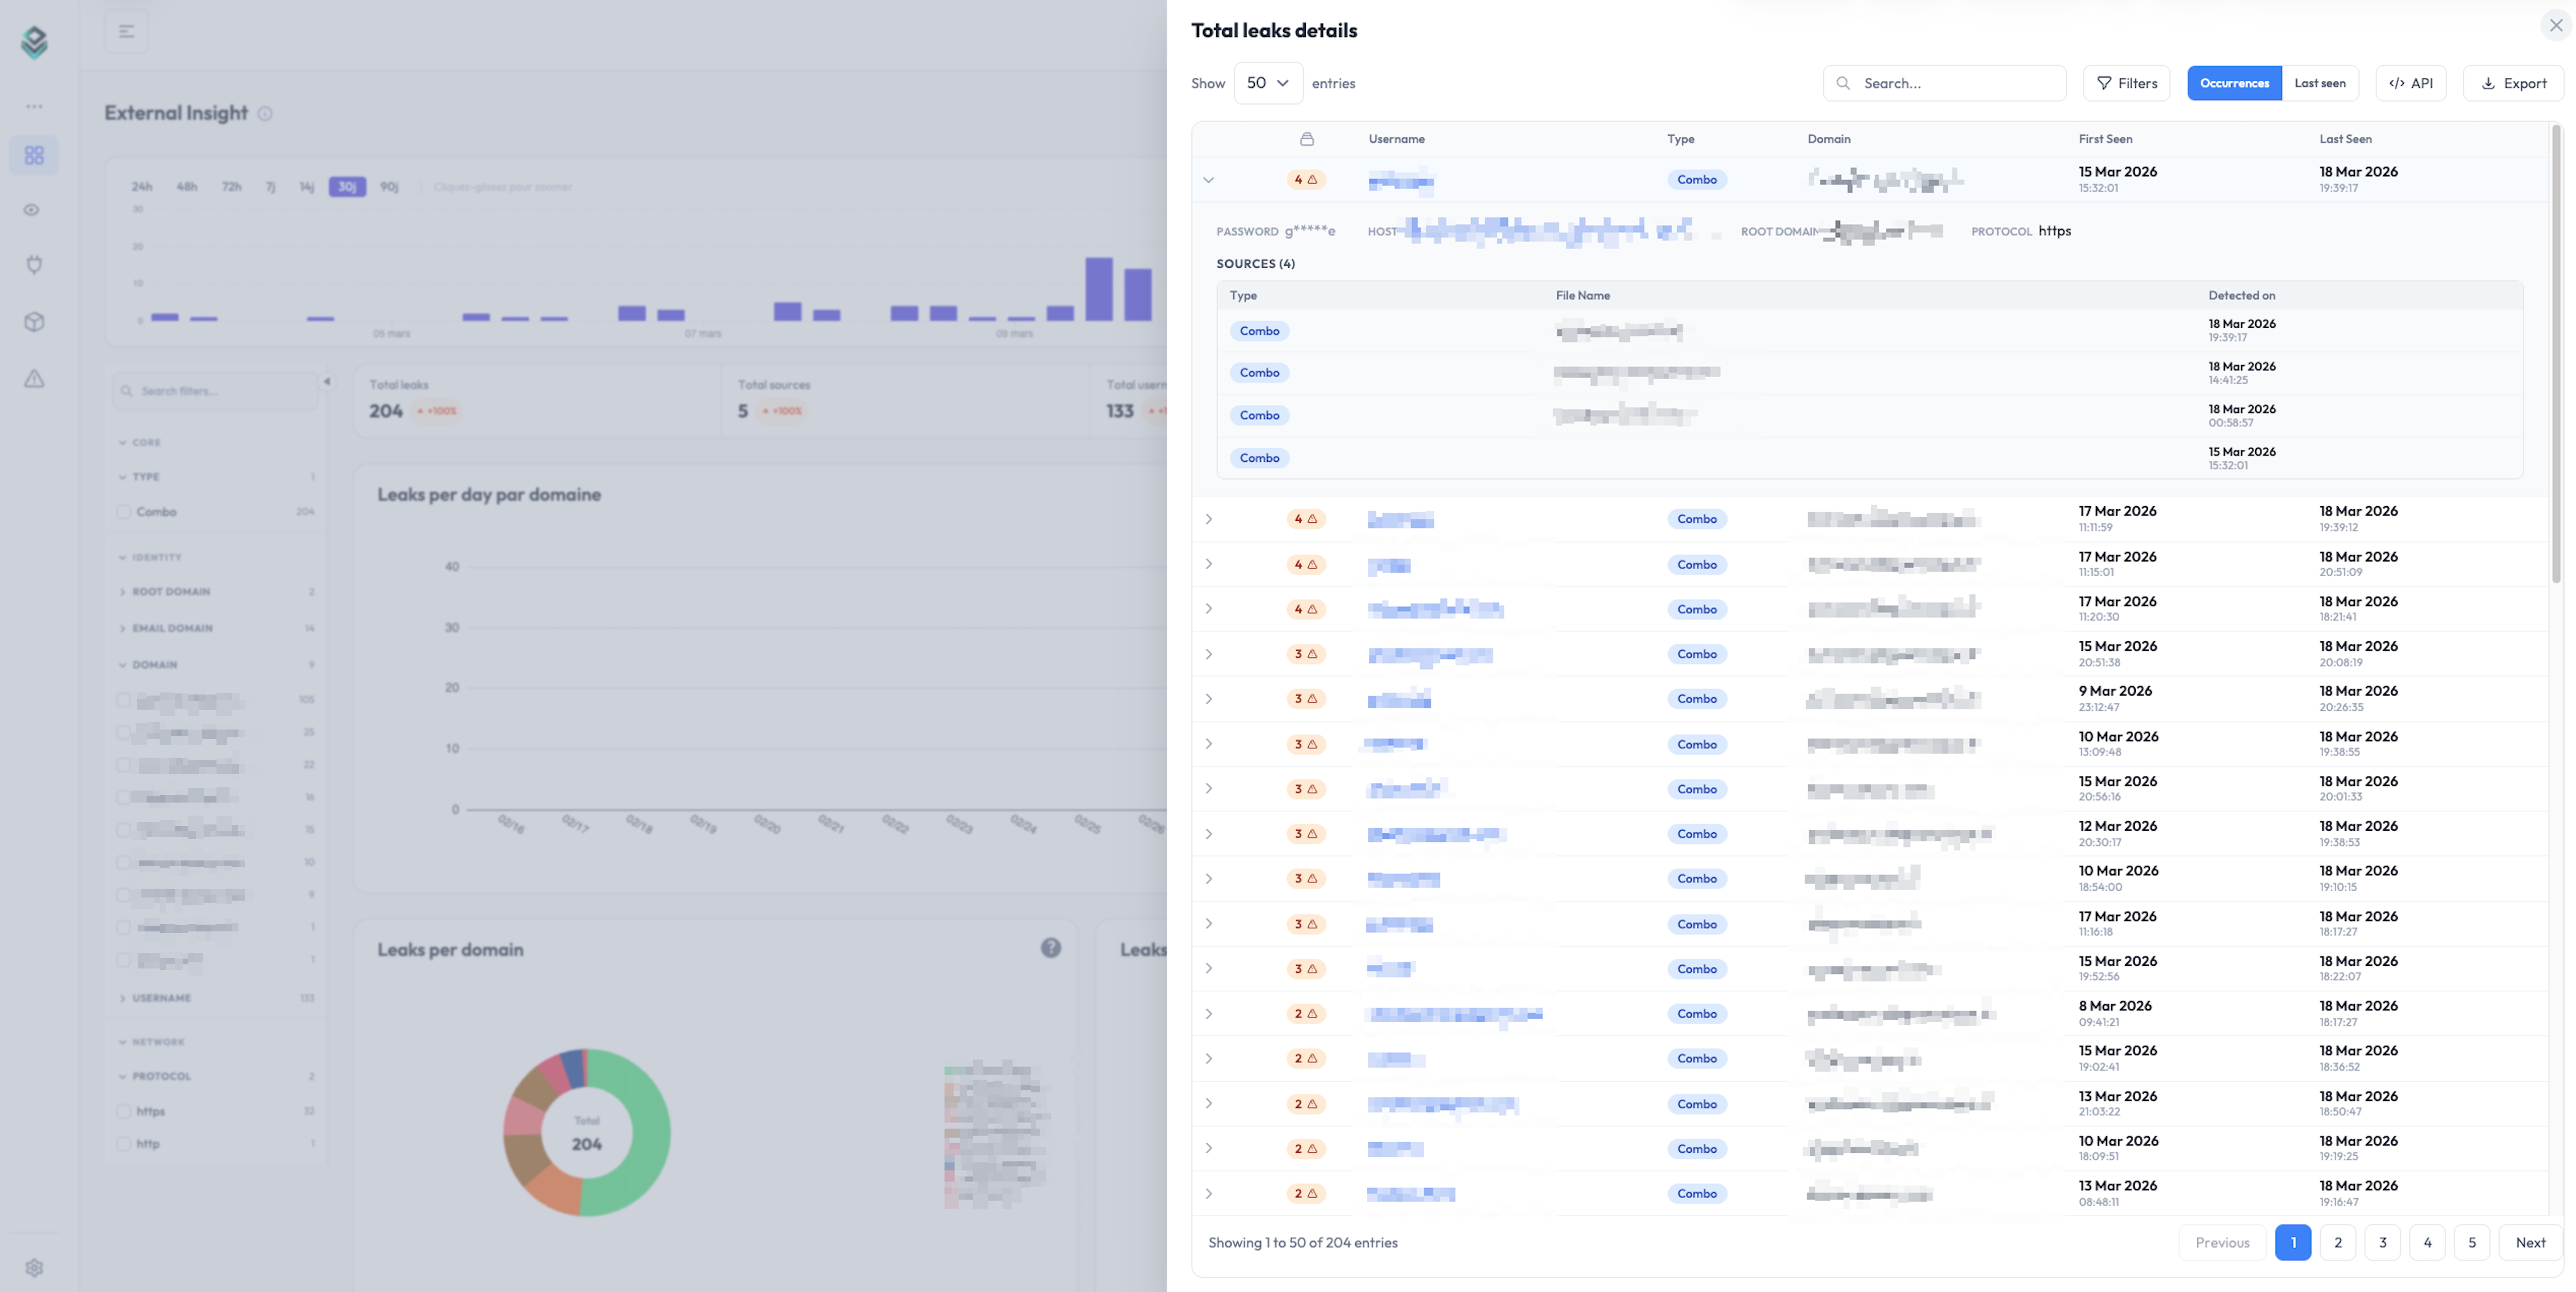
If you want to be notified when new leaks are detected, the next step is configuring a monitor and a notification channel. See Create a monitor.
Next steps
- Onboarding guide: add team members, configure keywords, set up your first monitor and channel.
- Reading detected leaks: filter, search and export the leaks Stealed found.
What is Stealed?
A real-time credential leak detection platform that monitors infostealer logs, underground forums and private Telegram channels.
Full onboarding guide
Walk through every step needed to get your Stealed organization production-ready: domains, keywords, team members, and your first monitor.